
Your best advertisement, as remodelers and home builders, is finished remodeling photos; however, inviting every single one of your prospective clients to an open house would be a logistical nightmare! Photographs of your finished work are how most people get a glimpse at what your company is capable of.
Whether you use a professional photographer for your photos, or you prefer to take them yourself, the quality, composition, and planning of your remodeling project photos is crucial. These photos will go on your website’s remodeling portfolio, social media sites, blogs, newsletters, and more. They need to be well-planned and executed in order to make the right impression.
People Are Obsessed with Transformations
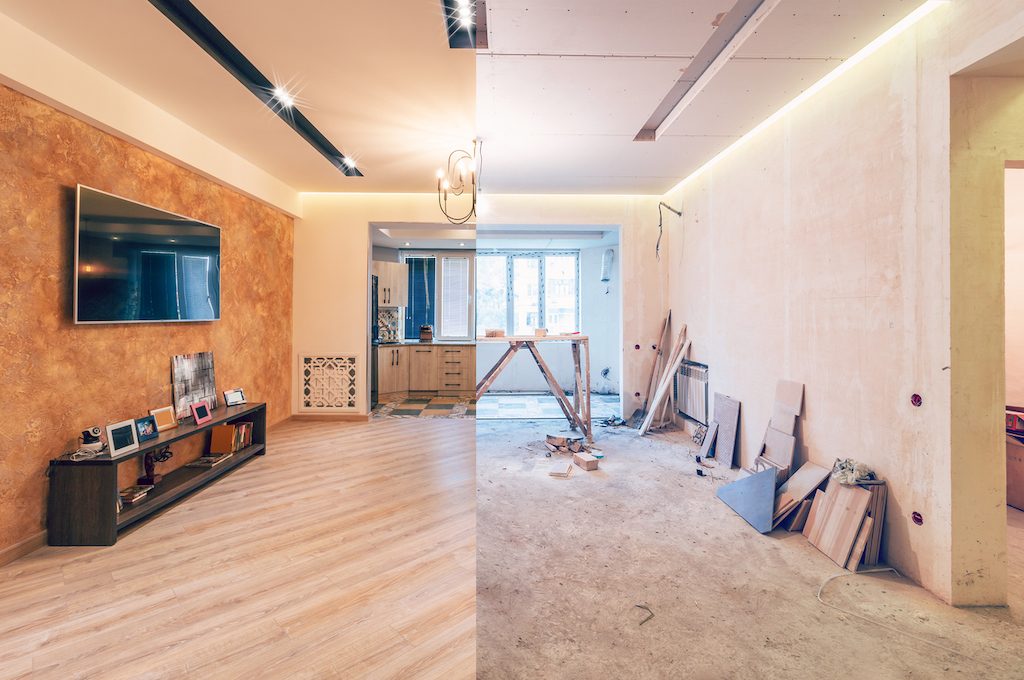
People really do love a transformation. There is something so evocative and satisfying about watching something improve. We recommend taking before photos of all of your projects: they are such an important part of your company’s project archives. When your online portfolio lacks before shots, it feels as if something is missing. Someone who has never heard of your company may not trust that the gleaming kitchens on your website aren’t stock images. If nothing else, it is smart to take before photos for legal protections in the future.
Additionally, process photos can have a place in your marketing program. Process photos can be great for social media, and they also help show everything that goes into your finished work, which can be helpful to document.
Become Like an Instagram Mom
I like to joke that I can take a good picture because I’m used to cropping out my basket of unfolded laundry from a cute kid picture. I can post an adorable picture of my daughter on Instagram, but nobody can see the mess in my living room. Become like an Instagram mom and crop the clutter out of your shot with the camera. It is better to have a thoughtfully framed photograph than to go back later and manually crop or edit items out of your photography.
Declutter Your After Photos

Your construction or remodeling project may be completed, but your employee’s sweatshirt hanging over a chair, the broom in the corner, and blue tape on the cabinets is not going to do your hard work justice. We’ve seen it all, including cardboard boxes, paint cans, extension cords, to-go cups, the ubiquitous clipboard, or protective plastic liners still on the floor. These excess items often engross the viewer who can’t see past them, making it look like more of a “before” shot than an “after.” When you remove everything that doesn’t belong, the beauty of your project will be revealed, and you will see an immediate improvement within your photos.
Completing Pre-photo Responsibilities and Etiquette with Homeowners

If you have hired a professional photographer, decluttering is still a step you can take. Sorry; as valuable as your time is, and as expensive as professional photography can be, your presence will help you get the best photos! Arrive thirty minutes (to an hour) before the photographer does and remove unwanted items from areas that will be photographed. This creates a great opportunity to stage the area. Ideally, you will have totes used for carrying staging items to store clients’ (or project) clutter so that you can return things where they belong after the photos are taken.
Of course, always communicate with homeowner about your intention to declutter for the photoshoot! Try to remove any family photos or personal items, like calendars. If you aren’t comfortable moving them, try to keep them out of the photo.
Another etiquette tip is purchasing a thank you gift for your clients for allowing you to photograph their home after the project has been completed! After all, it is incredibly helpful to have access to someone’s home for the purposes of creating your most important advertising asset!
Do you want to learn more about perfecting your project photos? Read more in Part 2 of our series on getting the most from your remodeling portfolio, where we discuss the nuances of staging your photos.