I’ve said it before and I’ll say it again: as a contractor, photos of your finished work are your most valuable advertising asset. Now that you’ve already read Part 1 in our series on achieving effective remodeler photos, get ready for some pointers for setting the stage for your photos.
Why Staging for Photos?
If you are wondering why you need to stage your finished building and remodeling projects before photographing them, observe this photo…
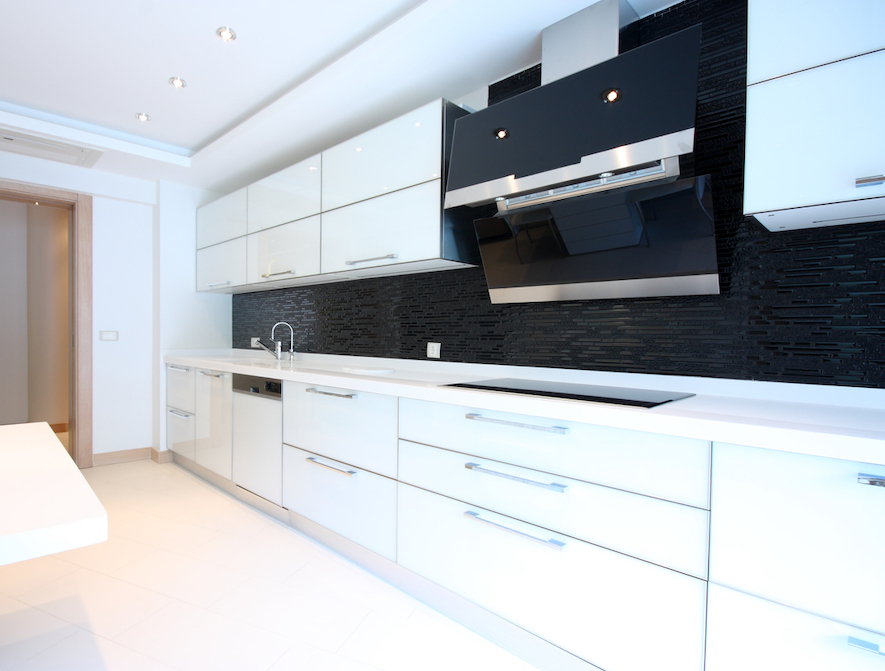
Taking after photos of an empty kitchen leaves potential clients feeling cold, and it’s just not inviting. Not only does an empty room fail to highlight the true beauty and functionality of your work, but people can’t picture themselves, or anyone else, living in those empty spaces.
Realtors encourage their sellers to stage homes before photographing or showing them. The same principles apply to you. Even though you may not be selling that particular home (unless you are a home builder), you’re selling your ability to replicate a similar feeling from a prospective client’s space. A picture of a beautifully staged home can evoke powerful emotions in the viewer.
Some Guidelines for Staging a Photo Shoot
- First of all, you need to get permission from the homeowners before the photoshoot. As I mentioned in Part 1 of this series, a thank you gift can be appropriate. One of your (nice, new) staging items can even be left as a gift. You will want to place personal items, like family photos and clutter in a bin or tote to store out of sight for the duration of your photoshoot.

- Communicate with your client. Let them know that once you complete their project, you can return in one month to take the photos. If you have a good rapport, give them a general idea of what you’re trying to achieve; for example, having window treatments is a way to warm up a space.
- If there are water spots on the faucet, or crumbs on the kitchen countertop, break out cleaning supplies and make the room shine for close ups. Carry a small bucket of cleaning supplies for touch ups.
- Be certain that the homeowner doesn’t have chemical sensitivities before cleaning and make sure that your products are safe for surfaces in the home. Don’t get overzealous! Unless your thank you gift to your client is a full house cleaning, you’re just touching up for photos!
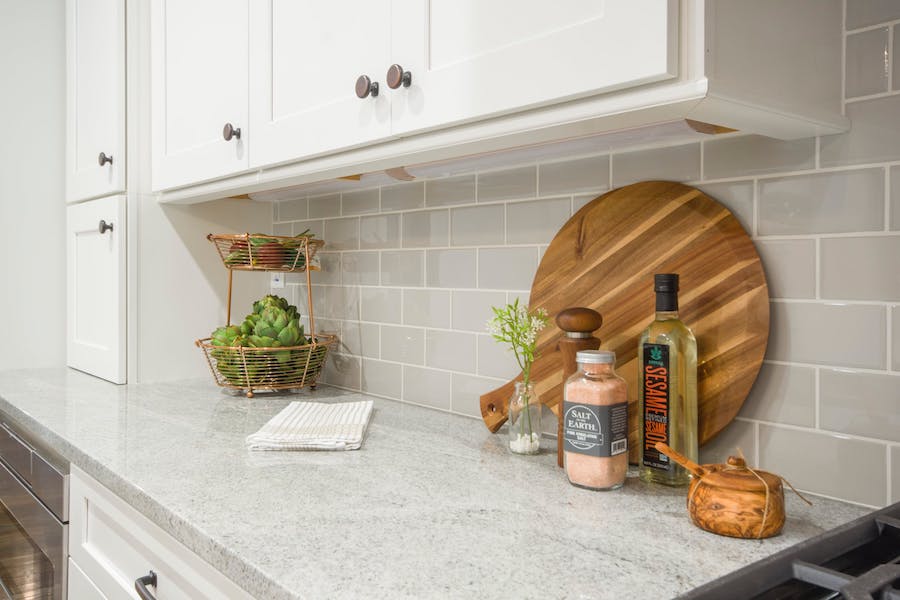
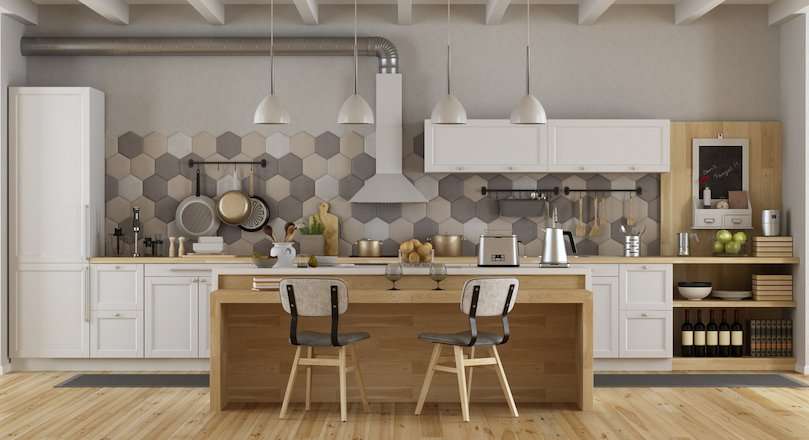
- Try to make the space appear lived in without looking overly cluttered. Placing a bowl of fruit on the counter or some decorative bottles of olive oil near the stove can warm up a kitchen but laying out the ingredients for a 5-course meal, or leaving out any small appliances, may distract viewers from your careful work done on the kitchen.
- Use symmetry when placing objects. Group items in odd numbers, and do not use anything too large or too small. Proportion is part of design symmetry. Large pieces can overwhelm and detract from the overall impact of your work, while too-small items can look silly and out of place.
- Choose a time of day with great lighting, like early morning, then open blinds and tie back window treatments. You want your photos to show your work in the best light possible, and natural lighting is key.
- If selecting items for temporary staging, try to purchase pieces that can work in multiple homes: think neutral. Ask clients if you can use or repurpose some of their personal objects, like vases, fruit bowls, or dishes. Be careful handling breakables!
Below are some ideas you can use to staging various rooms of a home for photos. Remember not to go overboard!
Kitchens/Dining Rooms
- Bowl or jars of fruit
- Set the table as if a meal is about to be served
- Place a wine bottle and wine glasses next to each other
- Cookbooks on the shelf
- Pot or teapot on the stove
- Display unique plates or stemware
- Place coffee cups on saucers and a newspaper near the coffee maker
- Matching jars or cannisters with dried pasta, coffee, or baking ingredients
- Open cabinets and pull out drawers to show unique organization features
Bathrooms
- Hang towels over racks or tubs
- Put nice looking shampoo bottles in shower
- Wicker baskets
- Matching soap and toothbrush holder
- Bathmat or rug on floor
- Robe hanging up with slippers below
- Loofah in shower
- Potpourri
- Decorative tissue box holders
Bedrooms
- Make the bed with beautiful blankets or comforters
- Use matching dust ruffle, throw, and decorative pillows
- Turn on lamps, have extra lamps in case the client does not have any
- Alarm clock
Living Rooms
- Throw blankets and pillows on the couches or chairs
- Books on the coffee table – try one open
- Turn on any fireplaces
- Wall Clock
- Lean a mirror above the fireplace on the mantle.
Mudroom
- Coat rack
- Pair of rain boots beside door
- Dog leash
- Umbrella/ umbrella holder
- Welcome mat
Laundry Room
- Folded towels on top of dryer
- Matching hampers
- Cute decorative items, like signs or baskets
Deck/Patio
- Table and Chairs
- Pitcher of lemonade or tea and glasses
- Flower Boxes
- Portable fire pit
Home Office
- Laptop on desk
- Pencil/pen holder
- File organizer
Options for Any Room
- Turn on the lights! Especially specialty lighting you’ve installed.
- Flowers or plants
- Wall art
- Beautiful vases